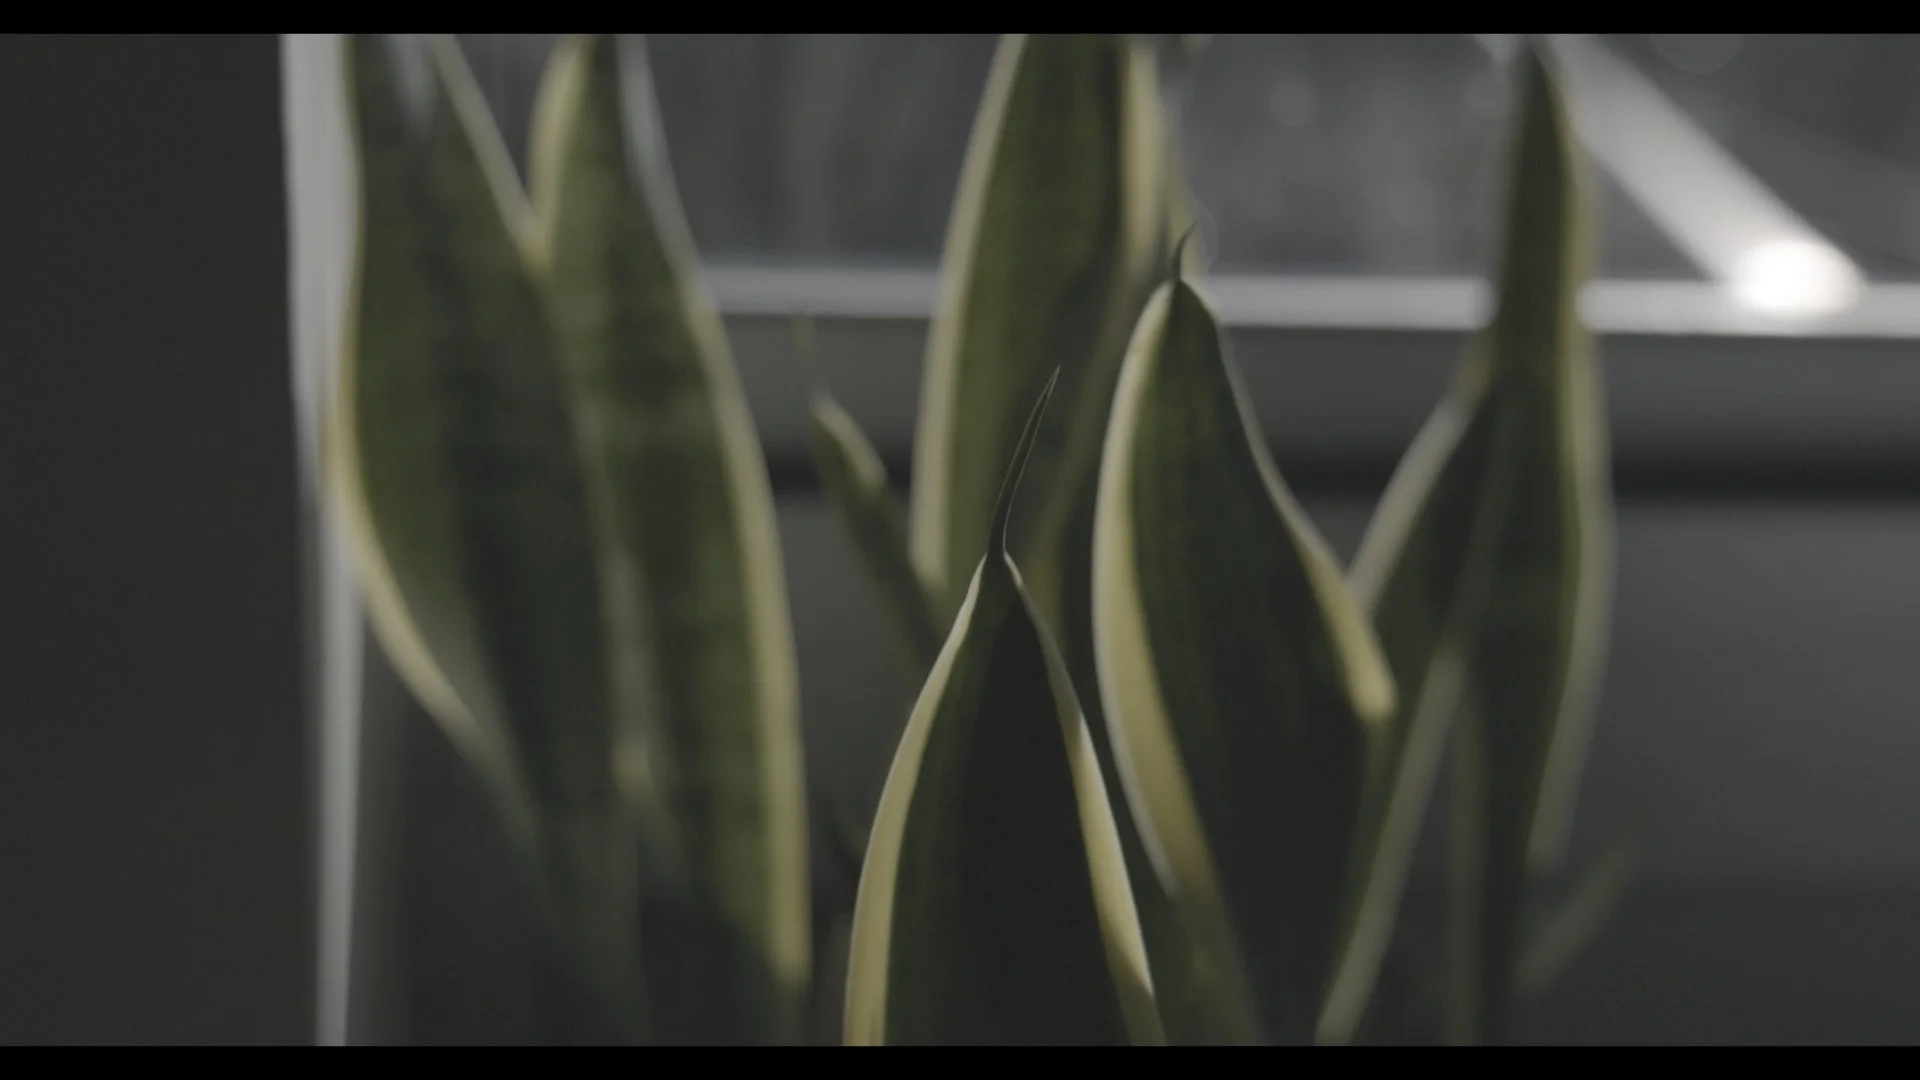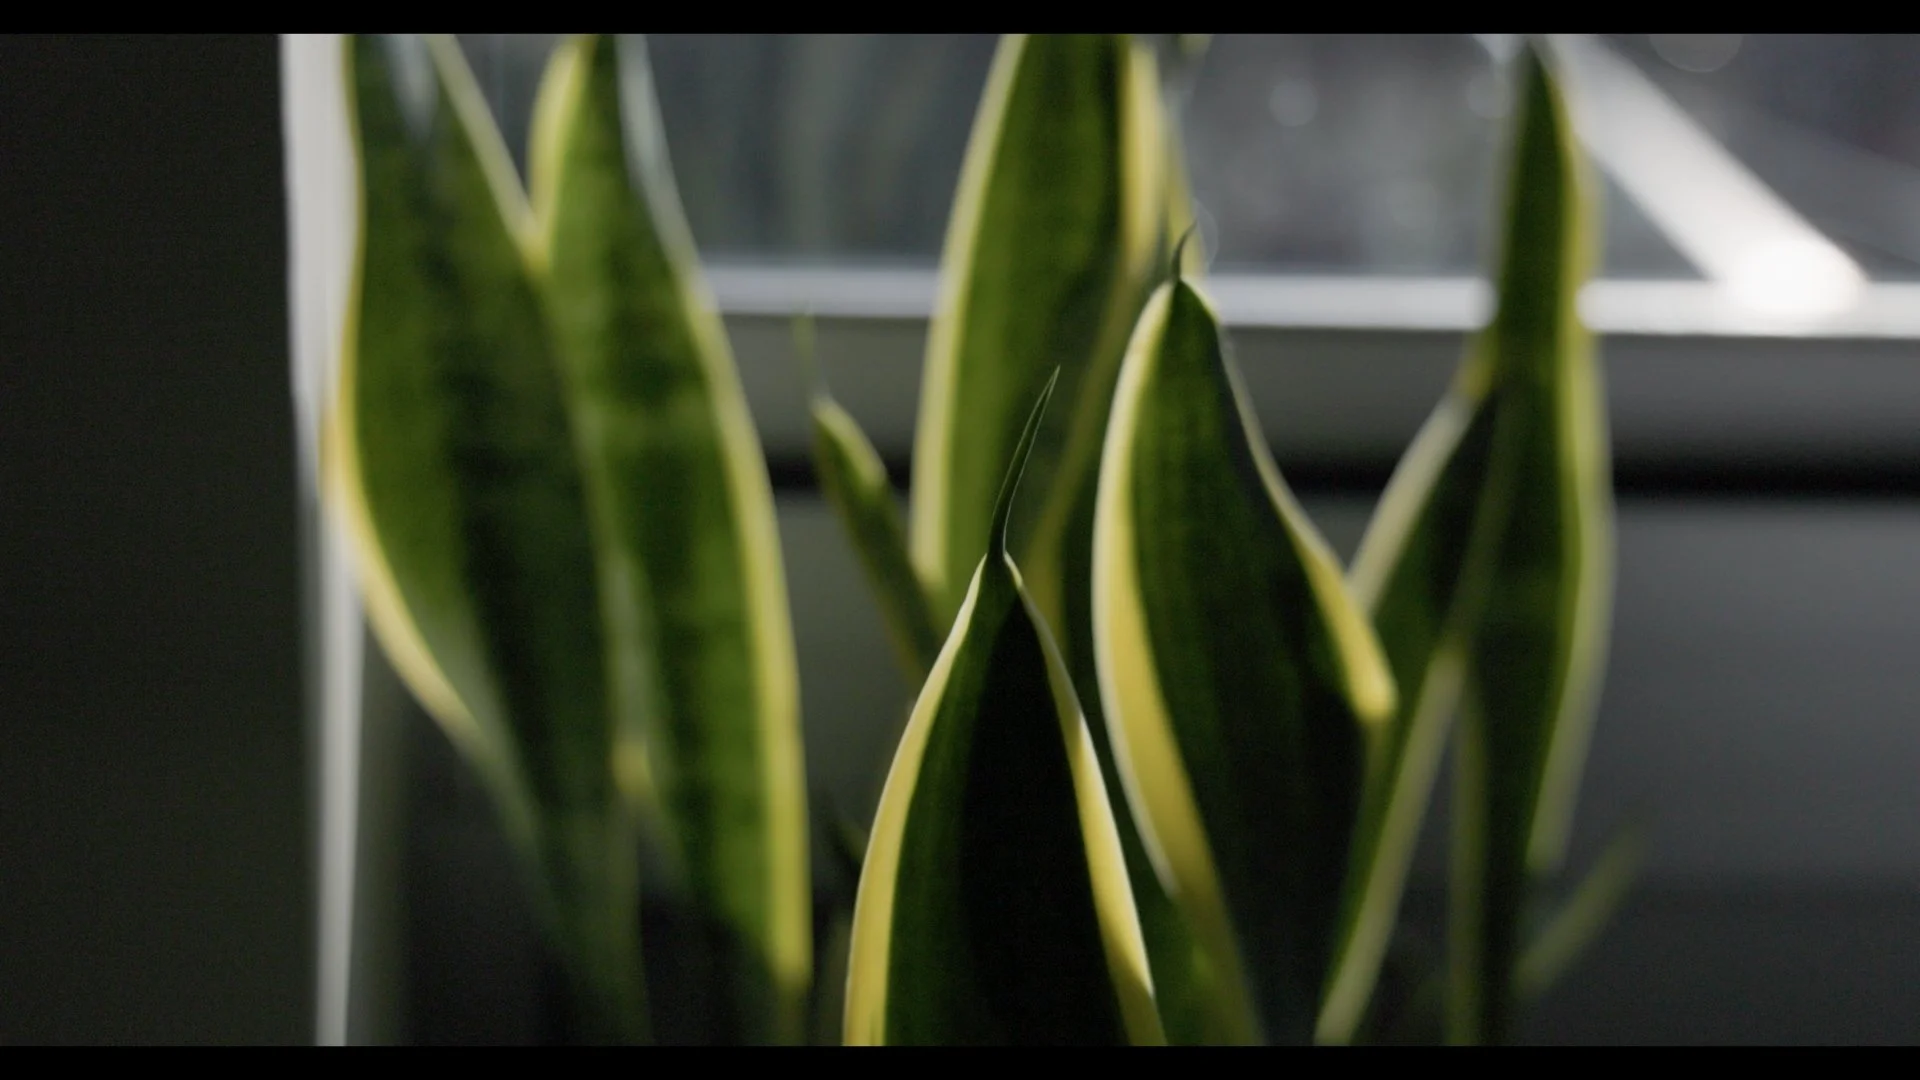

Free CLog3 Conversion LUT
Please note: This will not color correct your footage if you did not set the proper white balance. It is NOT a creative LUT that will add a specific look. It simply gives your footage a starting point and speeds up your color correcting and grading workflow.
Works best with Canon 4K and 8k Footage shot with the Canon Cinema Gamut color space.
In Adobe Premiere Pro: Simply import the Conversion LUT using the Input LUT dropdown under the “Basic Correction” section of the Lumetri Color tab.
In DaVinci Resolve: Drag the conversion LUT to a node and perform the rest of your color grade before this conversion node.
In Final Cut Pro: Drag the Custom LUT effect onto your clip, use the LUT dropdown to bring the conversion LUT in through there. Alternatively, under the Settings for your clip, import the LUT via the Camera LUT dropdown. Add Creative LUTs or custom adjustments to a layers above this Custom LUT effect.
Additional Info:
Package includes two versions of the CLog3 Conversion LUT - 33 Point and 65 Point cubes.
Difference Between 33-Point and 65-Point Cubes
33-point cube LUTs use 33 points per color channel, providing a good level of detail and are often considered broadcast quality. They strike a balance between accuracy and file size and are commonly used for on-set monitoring and many production workflows.
65-point cube LUTs use 65 points per channel and represent a higher resolution LUT with more detailed interpolation, which leads to smoother gradients and fewer artifacts like banding, especially on high dynamic range or 10-bit footage. This higher point count results in more accurate color transformations but larger file sizes and sometimes limited hardware compatibility.
Output Color Space: Rec. 709
Output Gamma: Gamma 2.4
If you shot 1080p footage instead of 4K, please email me for the 33-point cube file.
